

ELFA PLANNER - YOUR ONLINE CONFIGURATOR
With Elfa Planner, you can design your own walk-in closet, wardrobe, entryway, garage, or any other room— quickly, easily, and in 3D —and get a quote that includes all the items you need to order. Once you’ve finished your design, you’ll receive a detailed list of the products you’ve selected and the total cost of your configuration.
All prices in the configurator are final, in EUR, and include VAT.
To place an order for delivery, please send us the file with the design and the item numbers to sales@modu-concept.com or to our partner in your city if you’d like delivery with installation. Delivery takes up to 15 business days.
Follow the steps below and start planning your space.
Room Dimensions
Use the wall in front of you and, if necessary, the walls to the left and right to plan your layout. In the menu on the left, enter the room dimensions by clicking the icon in the upper-left corner. The dimensions can easily be changed at a later stage of the design process.
Wall 0 - front wall, Wall 1 - left wall, Wall 2 - right wall.
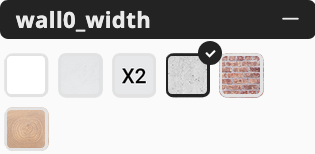
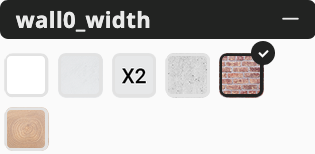
CHOOSE YOUR TYPE OF WALL
This step is mandatory. Depending on the type of wall, the required number and appropriate set of fasteners (screws and anchors)—specially selected for the elfa system—are automatically added to the order. Their dimensions and lengths are tailored to both the type of wall and the system’s construction and load-bearing capacity to ensure proper installation.
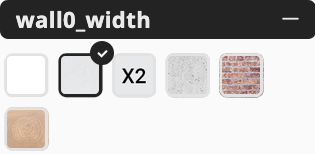
PLASTERBOARD
CONCRETE
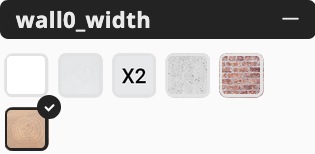
WOOD
BRICK
Not sure if the wall is concrete or brick? No problem—the same set of fasteners is used for concrete, brick, and wood. You only need to choose a different option if the system is to be installed on a drywall wall.
In the menu, you can also change the color of the walls, flooring, and baseboards to get a more realistic idea of how the design will look in your space.
Select a system and color
In the left-hand menu, first select:
System – Classic, Sparring, Decor+, or Garage+.
System color. The default color is white.
Depth – 300, 400 (standard depth with the most items), or 500 mm.
Once you've made your selection, all products available for the selected system will appear below the menu.
Add the first section by selecting a set with one horizontal and two vertical rails from the product list and dragging it into the empty workspace.
In this guide, we use the Click-in hanging system, in which all components are secured by snapping them onto the rails.
Add more sections—after you've placed the first section and it's selected, click the "+" button to add more sections to the project.
Change the width
The standard width (with the most items) of a single section is 607 mm, but you can freely adjust the distance between the vertical rails to fit your space. The Classic and Garage+ systems offer standard widths of 45, 60, and 90 cm, while the Decor+ system offers a standard width of 60 cm. Most components are available in standard sizes, but some, such as shelves, shelves with edging, and clothes rods, can be cut to size on site to fit non-standard widths.
By default, Elfa Planner adds decorative covers to all vertical rails in the Decor system but does not add them in the Classic system. If you want to add or remove them, select the vertical rails in the configuration to display the menu with the “use hang covers” checkbox , and then check or uncheck the box as desired.
Adding Storage Elements
The next step is to add storage elements. In the menu, you'll find various icons with a convenient "drag-and-drop" feature.
Start at the top. In this example, we’ve placed a wire shelf at a suitable height for a shelf above a coat rack. Click on the shelf to select it. Then drag the slider left or right to increase or decrease its width. Planner will automatically add shelves based on the standard section widths.
We recommend using standard widths whenever possible. This provides greater flexibility and makes it easier to make future changes to the layout without having to cut or replace shelves.
Adding Wire Shelves
Add wire shelves at a suitable height for the top shelf, approximately 2 meters from the floor.
Adding Accessories and Interior Features
Add the necessary components and accessories, such as: pull-out mesh baskets, trouser and shoe organizers. To better organize the space, add mesh shelves above the mesh baskets, at the bottom of the middle section, and above the trouser organizer.
Adding a clothes rod
In the menu with the clothes hanger icon, you'll find various options for hanging clothes. For this configuration, add a clothes hanger rod along the entire length of the wire shelf.
Adding Décor Elements
If you’d like a more elegant and polished look, you can add elements from the Décor series with wood-grain fronts. Select the Décor elements you want from the corresponding menus and add them to your project the same way you would any other product. The Décor series is available in white and gray.
FINALIZING THE CONFIGURATION AND SUBMITTING THE ORDER
Once you have finished configuring your order, click “Price” in the upper-right corner to open the next page, which displays a list of all selected items and the total price of the order.
At the bottom of the page , click “Send Solution.” Enter your email address and send the project to yourself. Once you receive the email, simply forward it to sales@modu-concept.com, making sure to include your first and last name, contact phone number, and shipping address.
Our team will review the project, check the configuration, and contact you for clarification if necessary.
Helpful Tips for Planning
The recommended height for the top mesh shelf is about 2 meters from the floor.
Typically, 900–1000 mm is needed to hang shirts and blouses, and 1000–1100 mm for suits and jackets, depending on the person’s height.
The pull-out shoe rack holds approximately 4–6 pairs of shoes, depending on their size.
The pants rack holds up to 10 pairs of pants, and its recommended height is about 700 mm from the floor.
For good visibility and easy access, we recommend storing 5–7 T-shirts on each shelf.
Mesh shelves are usually spaced 250–300 mm apart.
For easier access, it is recommended that pull-out baskets be installed at chest height.
The maximum load per section is 200 kg.